
StoreFAQ helps you add live chat support to your Shopify store in minutes. This makes it easy to respond to customer questions in real time and reduce support delays. It also helps you guide shoppers, solve purchase doubts, and recover potential lost sales through instant communication.
Learn the configuration steps below to complete the setup process. This will help you enable real-time customer conversations, customize your chat experience, and improve response speed across your store.
How to Configure Live Chat Support using StoreFAQ? #
Follow the step-by-step guide to add and configure Live Chat Support in StoreFAQ for Shopify. Before you start, make sure you have the StoreFAQ app installed on your Shopify store.
Step 1: Enable Live Chat #
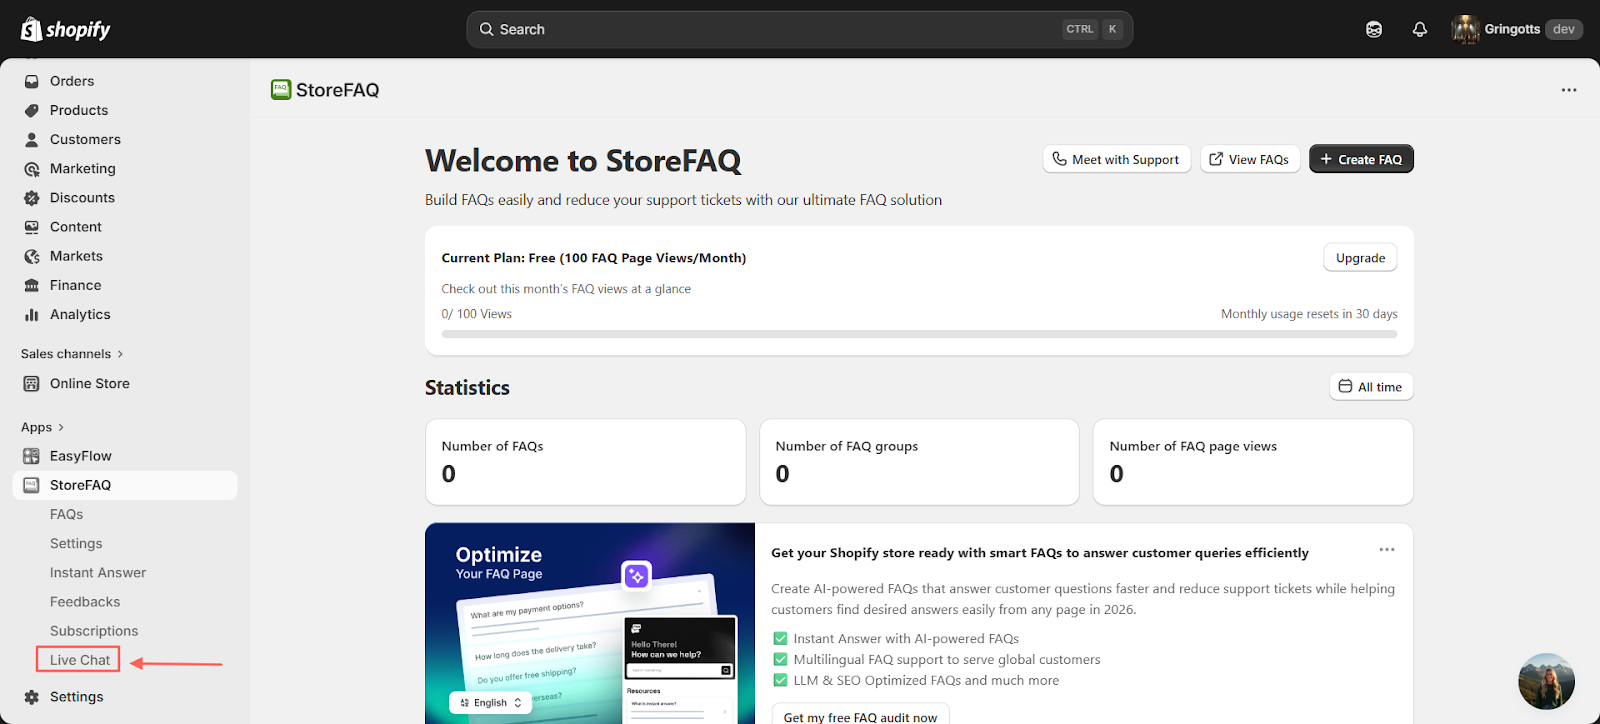
Open your Shopify dashboard and go to the StoreFAQ section, StoreFAQ→Live Chat. From there, click on ‘Live Chat’ to access the configuration settings. This is where you can manage and customize your live chat setup for your store.
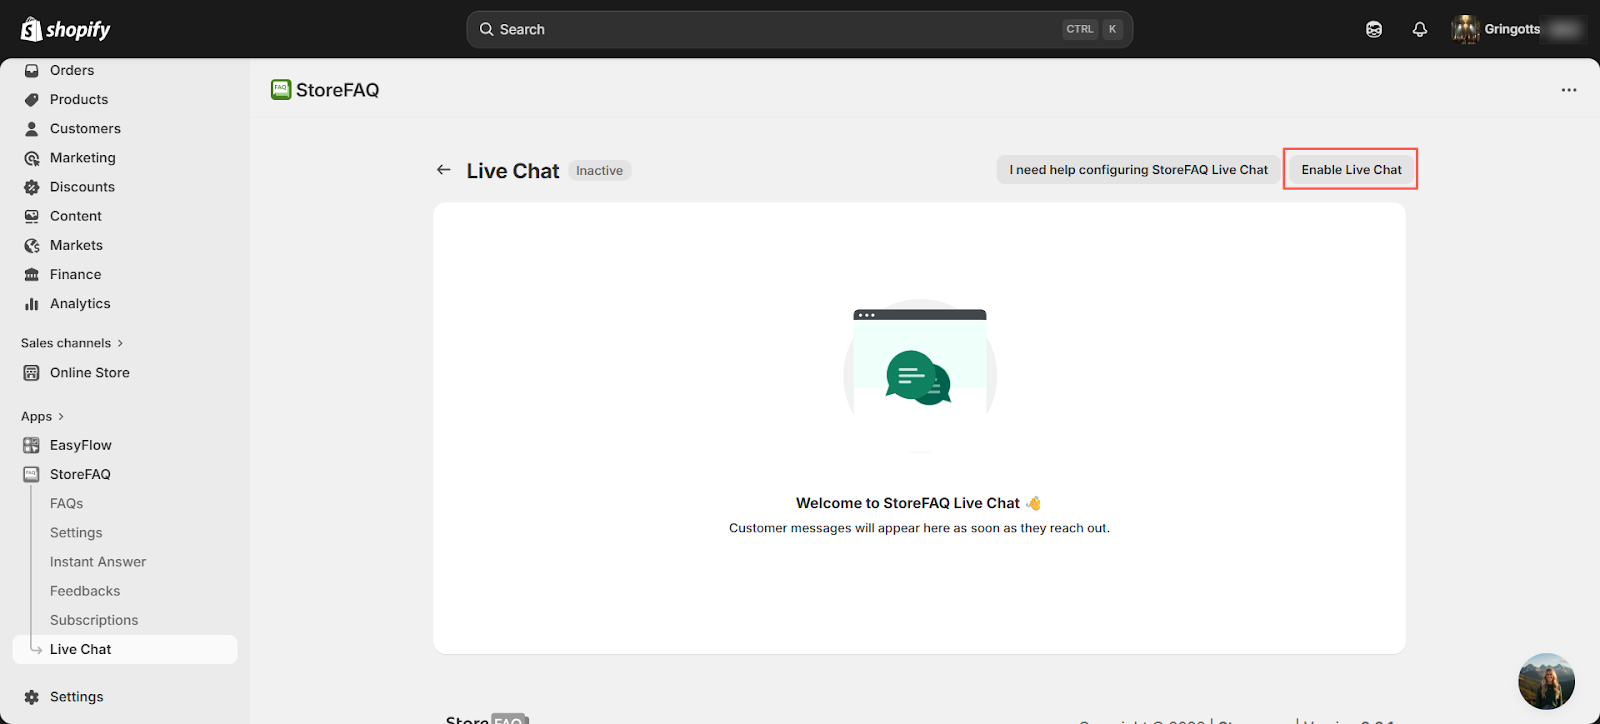
Next, go to the Live Chat dashboard and click on ‘Enable Live Chat.’ This will activate the live chat feature for your store and allow you to start handling customer conversations in real time.
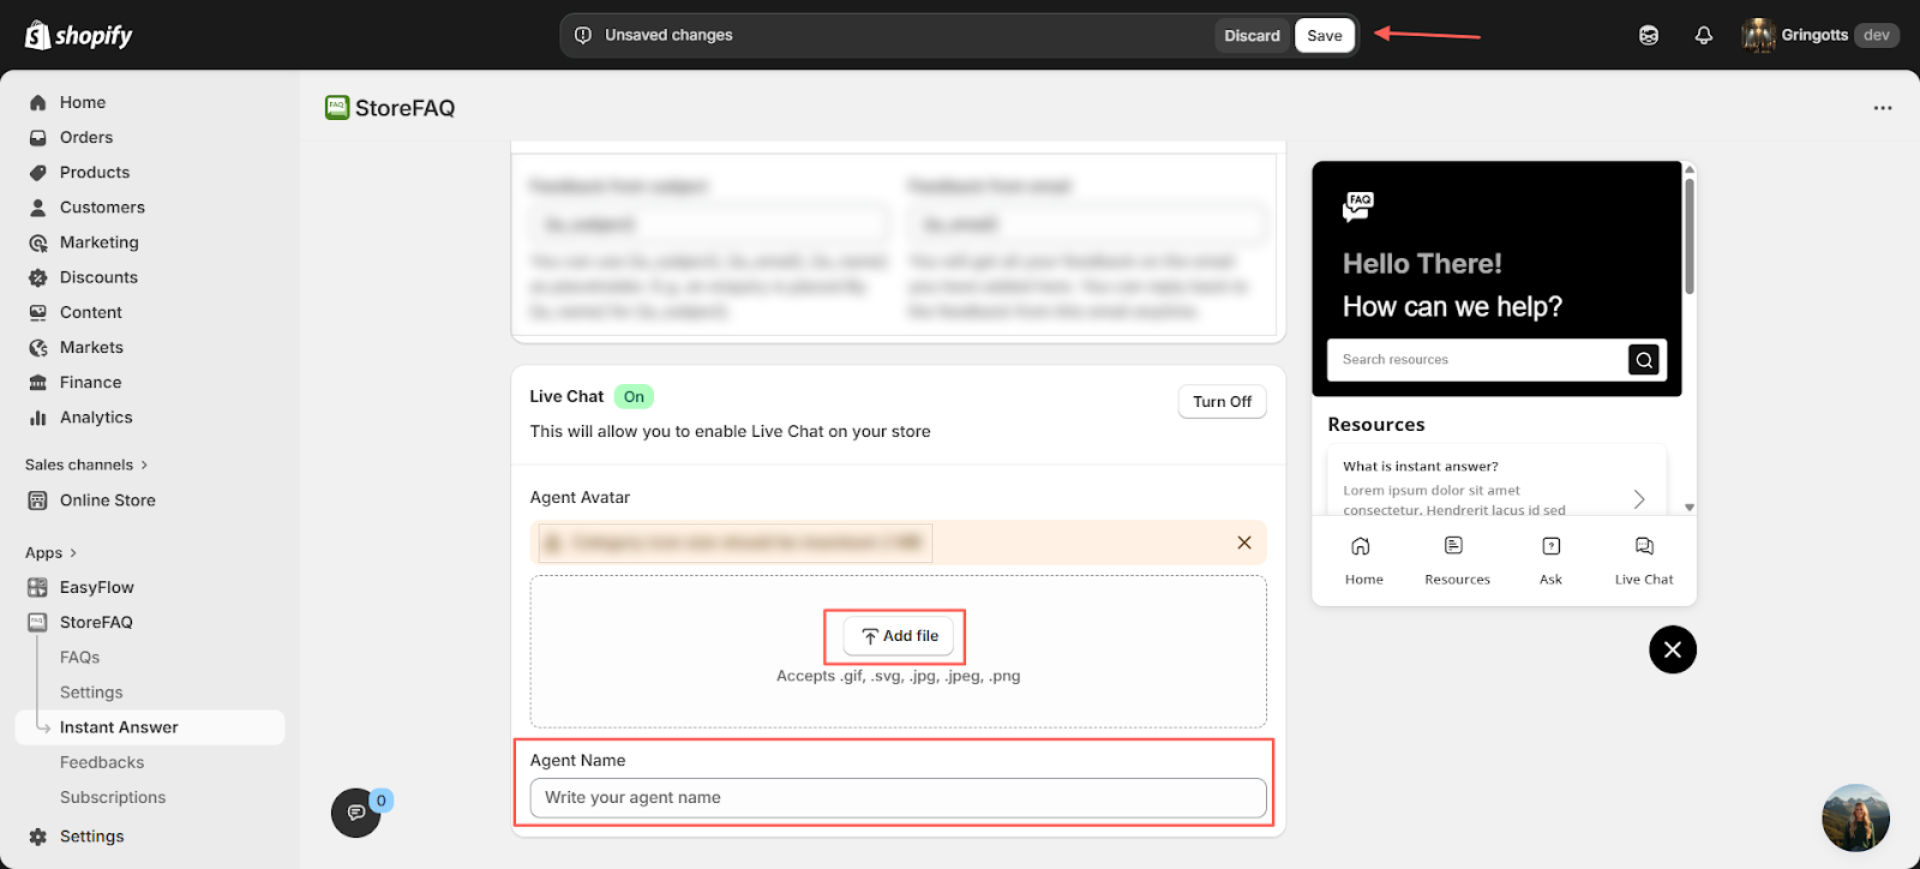
It will redirect you to the Instant Answer settings where you can enable Live Chat. From there, click ‘Turn On’ to activate the feature for your store.
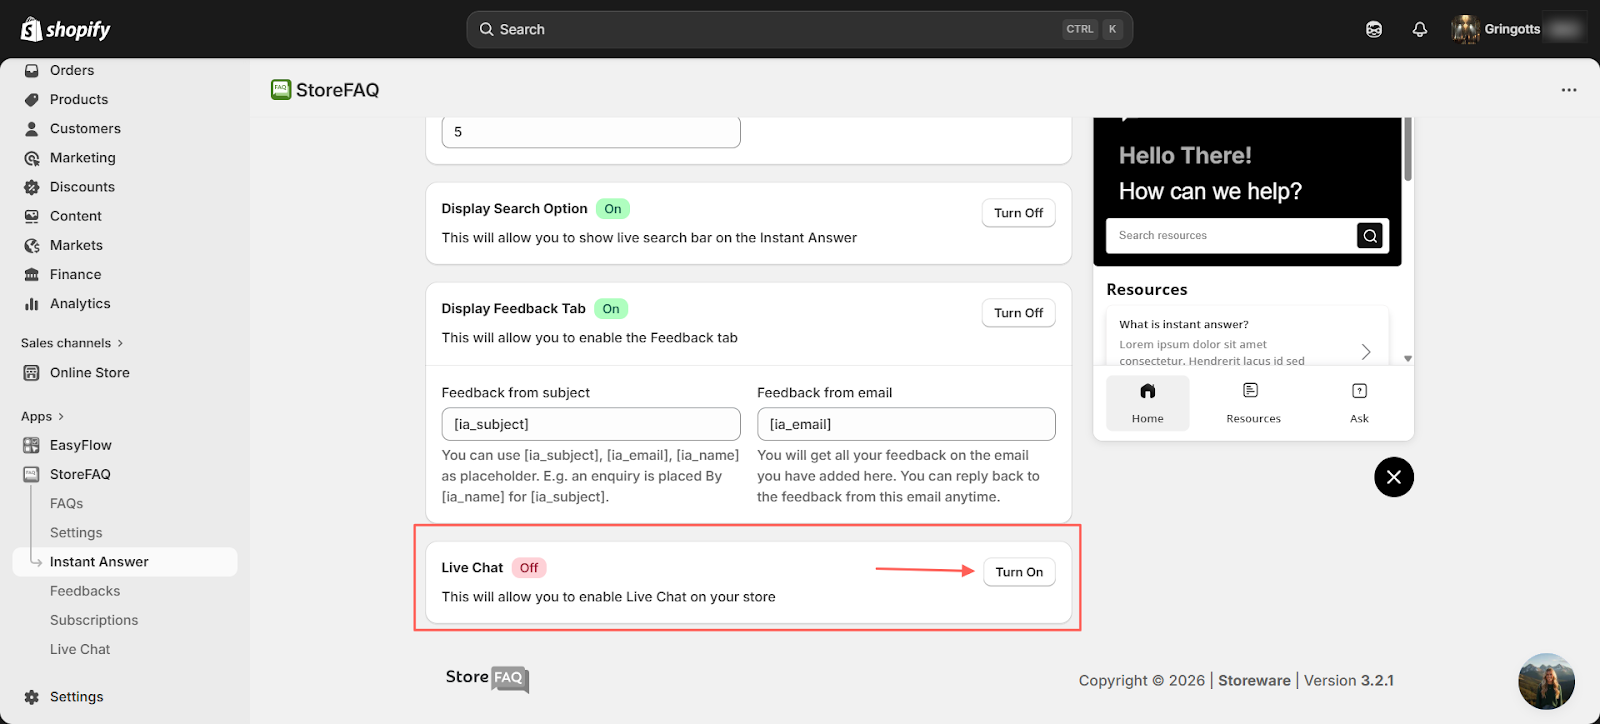
After turning it on, make sure to save your changes before you start customizing your Live Chat settings.
Step 2: Configure Agent Profile #
You can upload your agent avatar, keeping in mind that the file size should not exceed 2 MB. After uploading the avatar, enter your agent name. Once done, click ‘Save’ to apply your changes.
Step 3: Customize Design Settings #
Then go to the Design section and open the Live Chat dropdown. From here, you can customize your live chat by adjusting colors, fonts and text to match your store’s branding.
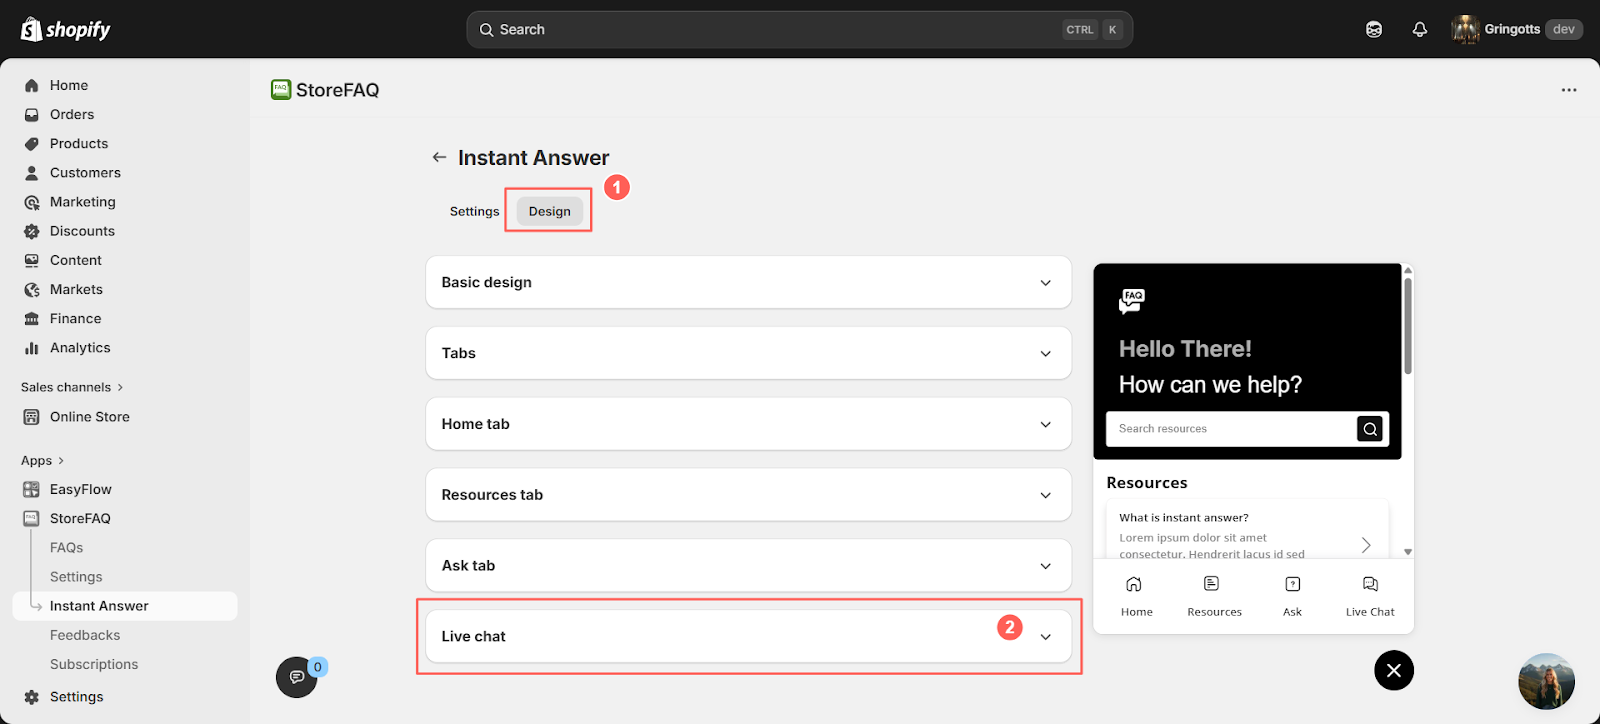
The Live Chat Design Settings let you control how your chat widget looks and feels across your store. From the launcher preview to the full chat window, each option maps directly to a visible UI element.
From the settings, you can adjust text, colors and sizing to match your brand and improve customer interaction. Below are elements that you can customize:
1. Header Area (Top of Chat Window): Customize the main header section of the chat window, including the primary title and supporting text, to clearly communicate your availability and brand tone.
2. Chat Launcher (Before Opening Chat): Control how the chat widget appears in its collapsed state, including preview text and background styling to encourage users to start a conversation.
3. Launcher Button: Adjust the call-to-action button within the launcher, including its label, color and size to make the entry point to chat more visible and clickable.
4. Chat Window (Expanded State Header): Define the header content shown after the chat is opened, helping users understand they are connected and ready to interact.
5. Welcome Message (Initial Chat Bubble): Set an automated greeting message that appears when the chat opens, creating a friendly first impression and guiding users to engage.
6. Message Input Field: Customize the input area where users type messages, including placeholder text and styling to ensure clarity and ease of use.
7. Send Button: Control the appearance and text of the send button, making it clear and accessible for users to submit their messages.
8. Media Upload: Enable and manage image upload functionality within chat, allowing users to share visual information for better communication.
Don’t forget to click ‘Save’ after making your customizations to ensure all changes are applied.
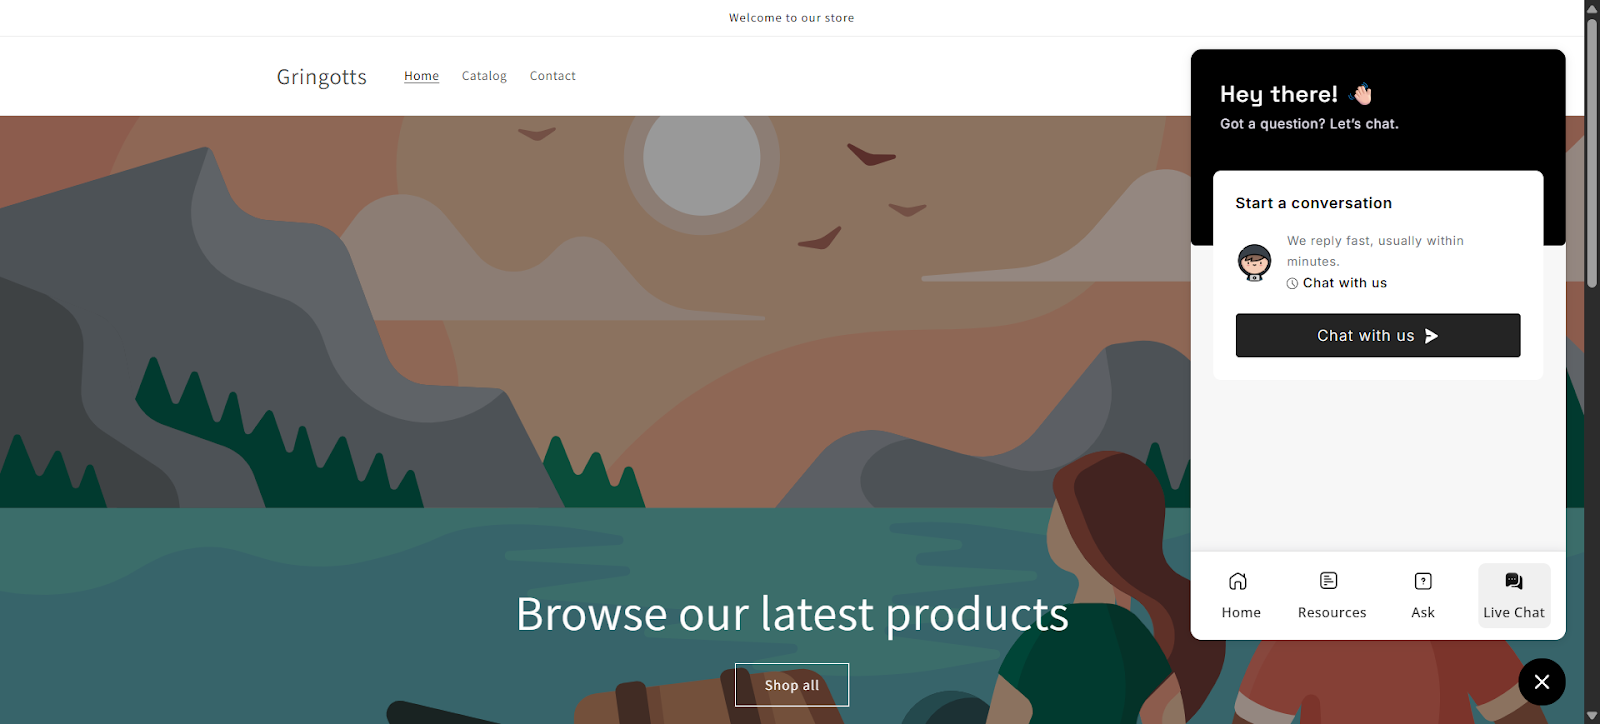
Final Outcome #
Clicking ‘Chat with us’ will start the live chat session. Users can then type their queries and ask questions in real time.
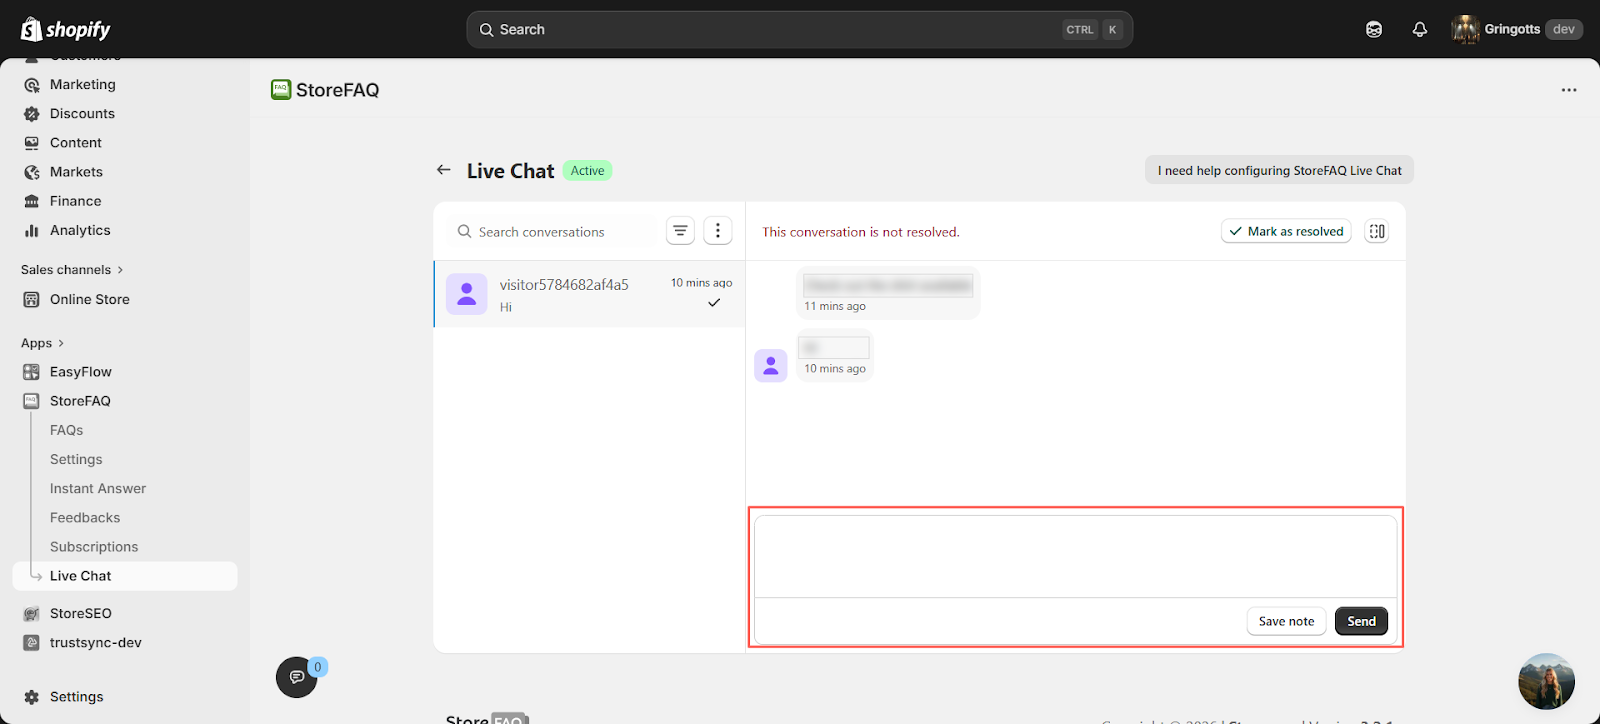
You can view customer queries and messages in the Live Chat settings. From here, your support agents can respond directly and help resolve customer issues efficiently.
That’s it. This is how you can configure Live Chat and use it to resolve customer issues while providing better support to your customers.
Need assistance? Feel free to reach out to our dedicated support team for any queries.


